
Your car won’t start, there’s a willing second vehicle nearby, and you’ve got a set of jumper cables in the trunk - but the order you connect them in actually matters, and getting it wrong risks a spark near battery gases. Here’s the safe, standard order, plus when boosting isn’t the right move at all.
Before You Start: Check These First
- Is the battery cracked, swollen, or leaking? If so, do not attempt to boost it. A damaged battery case can vent hydrogen gas unevenly or fail outright, and a spark near it is a real risk. Call for a tow instead.
- Does the battery look frozen (bulging case, ice visible, or it froze during an extreme cold snap)? Same answer - do not boost it. A frozen battery can rupture. This needs a tow to a shop, not a boost.
- Is the donor vehicle’s battery a similar voltage (virtually all consumer vehicles are 12V, but double-check if either is unusual - some hybrids and specialty vehicles have different setups)?
- Are both vehicles in park/neutral with parking brakes on, and both engines off before you start connecting anything?
If either of those first two checks gives you pause, stop and call for a mobile battery boost service instead - a professional with proper equipment can assess and boost safely, or recommend a tow if the battery genuinely shouldn’t be jumped. You can find a roadside operator near you who offers mobile boosting if you’d rather not risk it yourself.
The Safe Boost Order
This is the standard, safe cable order - follow it in this sequence:
- Red clamp to the dead battery’s positive (+) terminal.
- Red clamp to the good (donor) battery’s positive (+) terminal.
- Black clamp to the good (donor) battery’s negative (−) terminal.
- Black clamp to a bare, unpainted metal ground point on the dead car’s engine block or chassis - away from the battery itself, not to the dead battery’s negative terminal directly. Grounding away from the battery reduces the risk of a spark igniting hydrogen gas that can accumulate around the battery.
Double-check every connection is solid and clamped firmly on bare metal or the terminal itself before moving to the next step.
Starting the Cars
- Start the donor (good) vehicle and let it run for a few minutes. This lets the donor’s alternator begin feeding some charge to the dead battery before you try to start the second car.
- Try starting the dead vehicle. If it starts, let both vehicles run for a few minutes before disconnecting - this gives the recharged battery a bit more of a buffer.
- If it doesn’t start on the first try, don’t grind the starter repeatedly. Let the donor car run a few more minutes and try again once. If it still won’t start, the battery may be too far gone for a boost, or the issue may be the alternator or starter rather than the battery itself - that points to a tow rather than more attempts.
Disconnecting: Reverse the Order
Once the dead car is running:
- Remove the black clamp from the bare metal ground on the formerly-dead car.
- Remove the black clamp from the donor’s negative terminal.
- Remove the red clamp from the donor’s positive terminal.
- Remove the red clamp from the formerly-dead battery’s positive terminal.
Removing them in this reverse order keeps you working away from the batteries themselves at each step where a spark risk exists.
Safety Cautions Worth Repeating
- Don’t lean directly over the battery while connecting or disconnecting cables - batteries can vent small amounts of hydrogen gas, and leaning over one puts your face in the worst possible spot if anything sparks.
- No open flames or cigarettes anywhere near either battery during the process.
- Make sure clamps don’t touch each other or any other metal while you’re connecting the second end - a stray spark between clamps is exactly the risk this whole order is designed to avoid.
- Remove rings and metal jewelry if you’re doing a lot of hands-on work near the terminals.
- If you smell rotten eggs (sulfur) or see any bulging on the battery case, stop entirely and back away - that’s a sign of a battery in genuine distress.
If You Don’t Have Cables or a Second Car
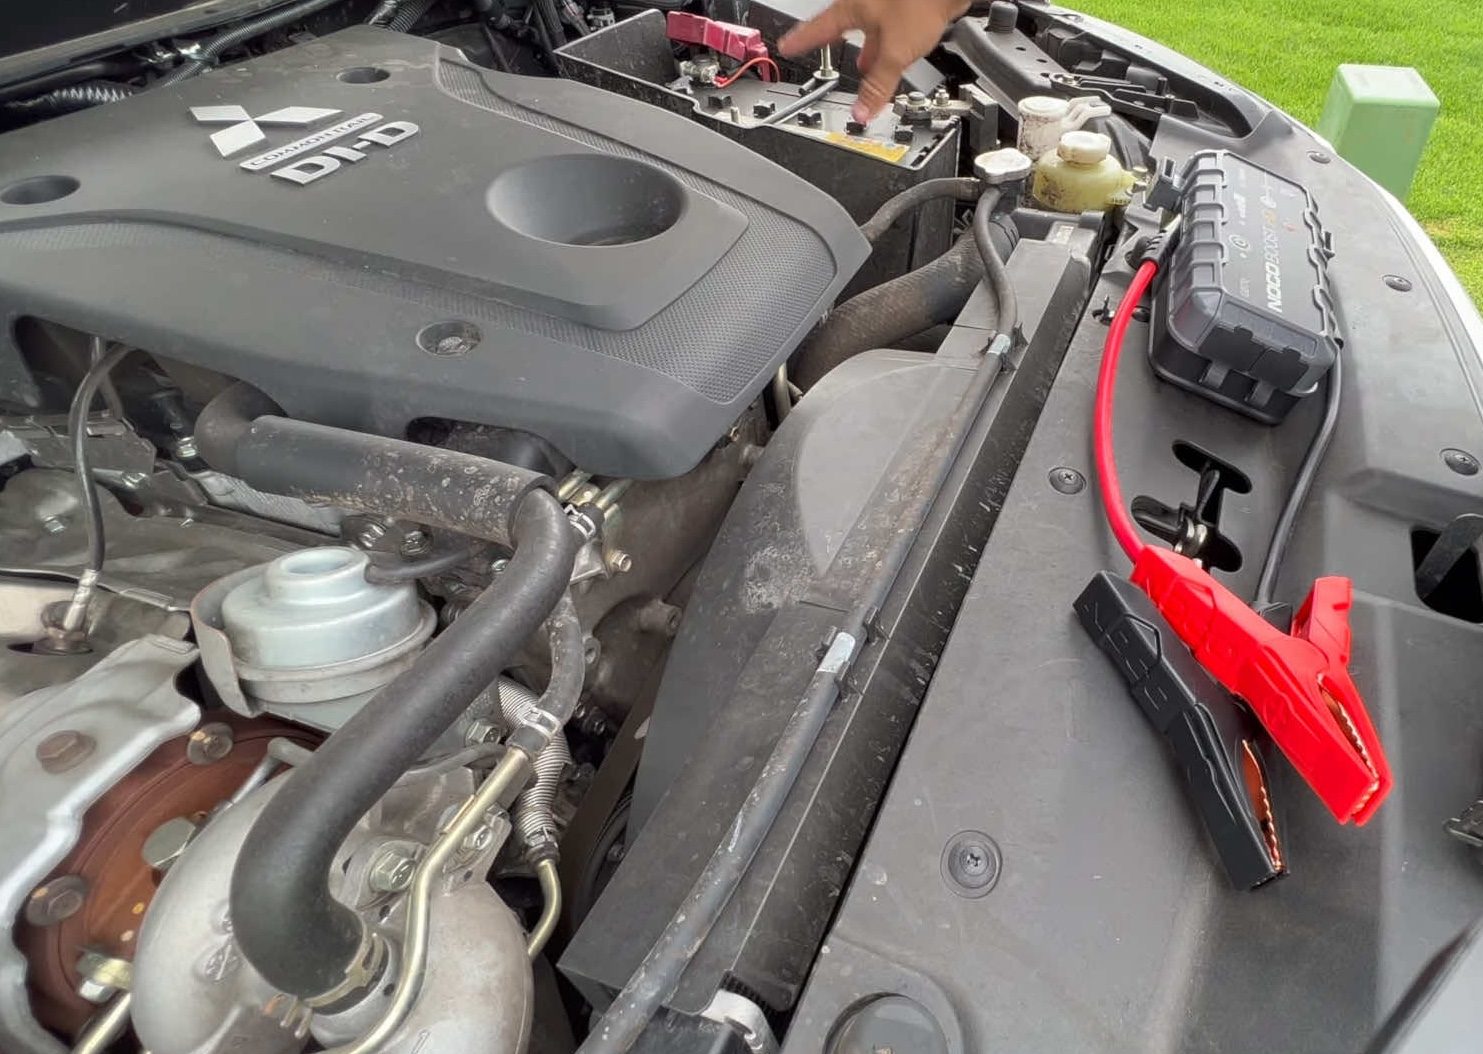
- A portable jump-starter pack works solo and is worth keeping charged in the trunk if you drive an older vehicle or live somewhere remote - no second car required, and the safe-order principle above still applies to how you connect its clamps.
- Call for a mobile boost. A roadside operator arrives with proper commercial equipment and typically charges $45–$120 flat for the service - often faster and lower-risk than waiting for a passerby with cables.
- If the car won’t take a boost at all, or keeps dying again shortly after, that usually points to a battery that needs replacing or an alternator issue rather than a simple dead charge - a job for a shop, which may mean a tow if it won’t run long enough to drive there.
Boosting With a Portable Jump-Starter Pack
The cable order above applies whether the power source is a second car or a portable jump-starter pack, with one difference: there’s no second vehicle to worry about positioning safely, and no need to let a donor engine idle first since the pack supplies its own stored charge. Most packs clamp the same way - positive to the dead battery’s positive terminal first, negative to a bare metal ground point away from the battery last - but check the specific instructions for your pack, since some newer lithium jump-starters have built-in reverse-polarity protection and slightly different recommended sequences. Keeping one charged in the trunk, especially through winter, means you’re not depending on a passerby with cables at all.
A Note on Newer Vehicles and Hybrids
Standard 12V boosting applies to the vast majority of vehicles on the road, including most hybrids, which still use a conventional 12V accessory battery separate from the high-voltage hybrid battery pack. If you’re unsure whether your vehicle is safe to jump this way, our guide to why car batteries die in Canadian winters covers the broader picture of when a battery needs more than a boost. That said, jump points on hybrids and some newer vehicles aren’t always the battery terminals themselves - many manufacturers specify a separate remote jump-start post under the hood to avoid clamps near the main battery. Check your owner’s manual before assuming the terminals are the right connection point, since guessing wrong on a hybrid’s high-voltage system isn’t something to improvise.
Quick Reference: The Order in One Table
| Step | Connect to |
|---|---|
| 1. Red | Dead battery, positive (+) |
| 2. Red | Donor battery, positive (+) |
| 3. Black | Donor battery, negative (−) |
| 4. Black | Bare metal ground on dead car, away from the battery |
Disconnect in exactly the reverse order.
FAQ
What’s the correct order to connect jumper cables? Red to the dead battery’s positive terminal, red to the donor’s positive terminal, black to the donor’s negative terminal, then black to a bare metal ground point on the dead car away from the battery - not directly to the dead battery’s negative terminal.
Why does the last clamp go on a ground point instead of the dead battery itself? Grounding away from the battery reduces the risk of a spark igniting hydrogen gas that can build up around a battery, especially one that’s been struggling or is older.
Can I boost a battery that’s cracked or looks frozen? No - never attempt to boost a battery that’s cracked, swollen, leaking, or appears frozen. Call for a tow or a professional roadside assessment instead.
How long should I let the donor car run before trying to start the dead one? A few minutes is a reasonable standard - it lets some charge transfer before you attempt the start, improving your odds of success on the first try.
What if the car won’t start even after boosting? Don’t keep grinding the starter. If a second attempt after a few more minutes of charging still fails, the issue may be beyond a simple boost - the battery may need replacing, or it could be the alternator or starter. Call for a mobile boost service or a tow to a shop.
Boosting a battery safely takes a few extra minutes of care, but it’s a routine job. If the battery’s cracked, frozen, or just won’t hold a charge, find a roadside operator near you rather than push it further.